Welcome, AWS enthusiasts and email warriors! 👋 Today, we’re embarking on an exciting journey into the world of Amazon Simple Email Service (SES). Whether you’re a developer, business owner, or tech enthusiast, this comprehensive guide will walk you through everything you need to know about implementing AWS SES for robust email delivery.
What is Amazon SES and Why Should You Choose It?
Amazon Simple Email Service (SES) is AWS’s powerhouse email solution that leverages the same infrastructure Amazon.com uses to handle millions of customer communications daily. It’s not just another email service – it’s a battle-tested platform designed for reliability and scalability.
Key Benefits of Amazon SES:
- Cost-Effective: Pay only for what you send, with prices starting at just $0.10 per 1,000 emails
- Scalable: Handles everything from a few emails to millions of messages daily
- Reliable: Built on Amazon’s proven infrastructure
- Flexible: Multiple integration options including SMTP and API access
- Analytics-Driven: Comprehensive metrics and reporting capabilities
Getting Started: Complete Setup Guide
1. Creating Your AWS Account
Before diving into SES, ensure you have an active AWS account:
- Visit aws.amazon.com
- Click “Create an AWS Account”
- Follow the registration process
- Set up billing information
2. Accessing Amazon SES Console
Once your AWS account is ready:
- Log into the AWS Management Console
- Search for “SES” in the services search bar
- Select “Amazon Simple Email Service”

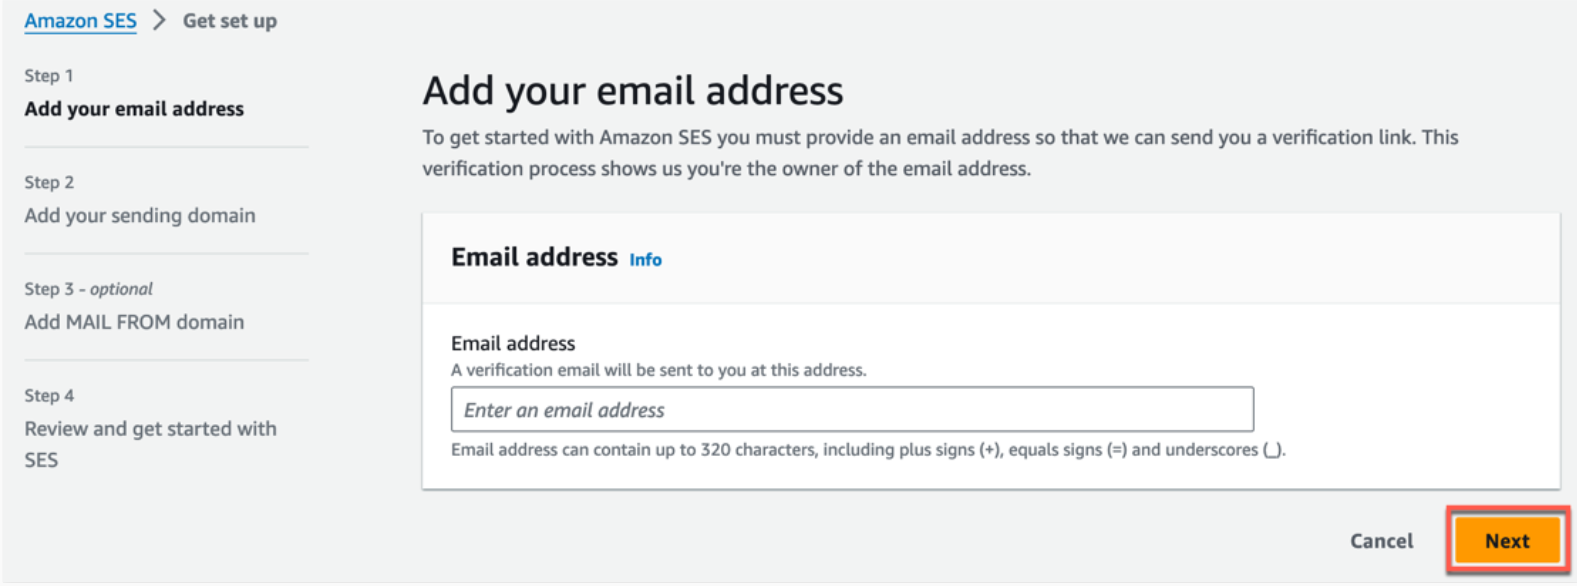
3. Email Address Verification (Essential First Step)
Before sending any emails, you must verify your sender address:
- In the SES Console, find “Verified Identities”
- Click “Create Identity”
- Select “Email Address” as the identity type
- Enter your email address
- Click “Create Identity”
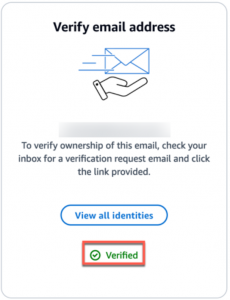
- Check your inbox for the verification email
- Click the verification link in the email


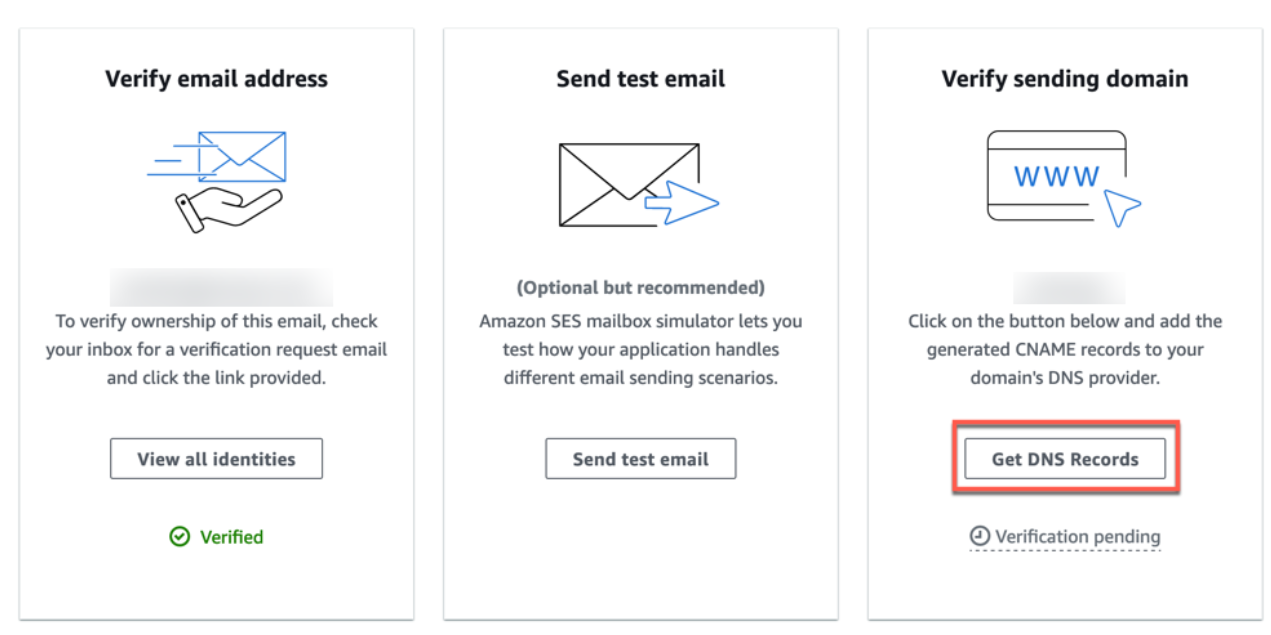
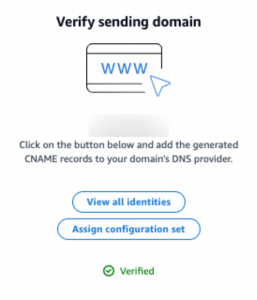
4. Domain Verification (Recommended for Business Use)
For professional email sending, verify your entire domain:
- In SES Console, click “Create Identity”
- Select “Domain” as the identity type
- Enter your domain name (without ‘www’)
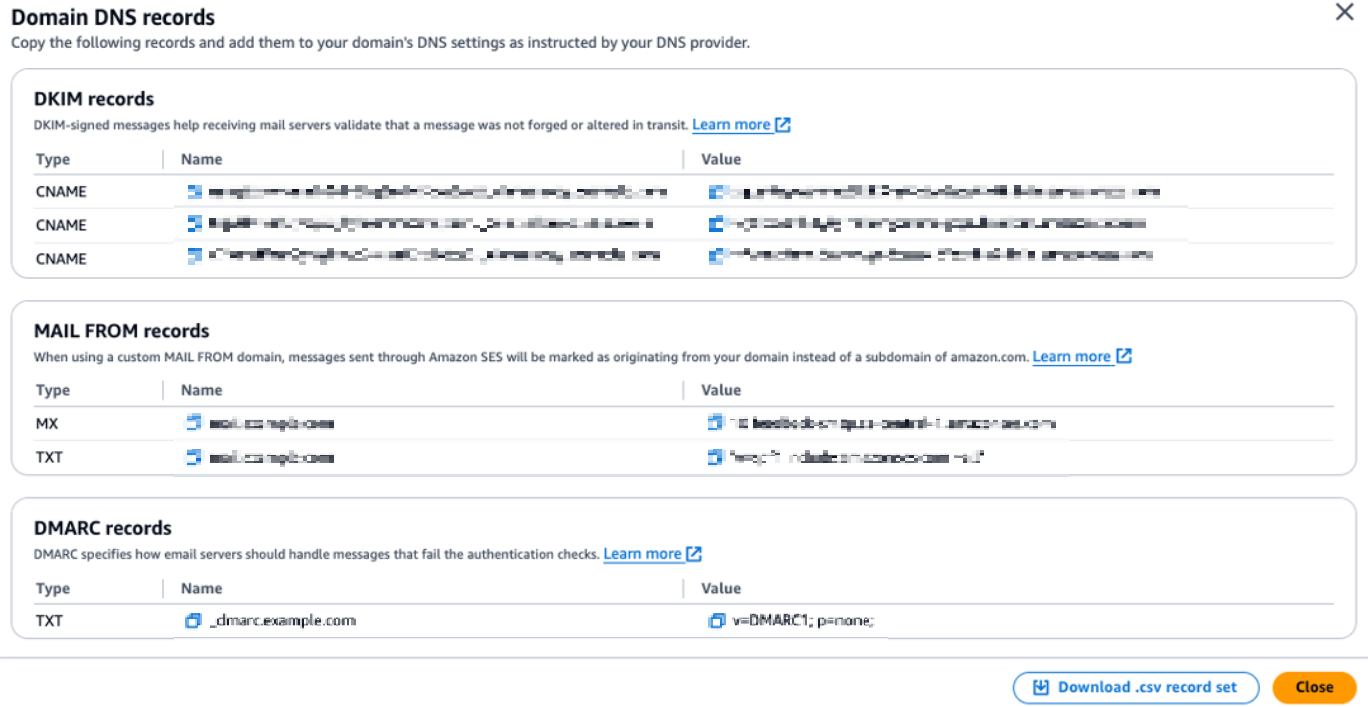
- Configure DKIM settings (recommended)
- Choose configuration options:
- Easy DKIM (recommended)
- Custom DKIM (for advanced users)
- Copy the provided DNS records
- Add these records to your domain’s DNS settings
5. Sandbox Mode and Production Access
Understanding the SES Sandbox:
- New accounts start in sandbox mode
- Can only send to verified email addresses
- Daily sending limits apply
- Perfect for testing and development
Requesting Production Access:
- Navigate to “Sending Statistics” in SES Console
- Click “Request Production Access”
- Fill out the request form with:
- Mail type (marketing, transactional, etc.)
- Expected daily volume
- Content description
- Security measures
- Complaint handling process
- Submit and wait for AWS review (typically 24-48 hours)
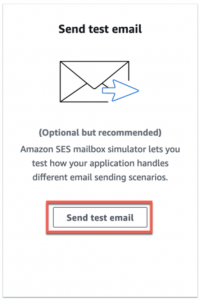
6. Sending Your First Email
Test email sending through the console:
- Go to “Email Testing” in SES Console
- Click “Send Test Email”
- Choose Raw or Formatted email
- Enter sender and recipient addresses (must be verified in sandbox)
- Compose your message
- Click Send
![]()
Advanced Configuration and Best Practices
SMTP Credentials Setup
- Navigate to SMTP Settings
- Create SMTP Credentials
- Save credentials securely
- Configure your application with:
- SMTP endpoint
- Port numbers (25, 587, or 2587)
- Authentication details
Monitoring and Analytics
Essential metrics to track:
- Delivery rates
- Bounce rates (keep under 5%)
- Complaint rates (keep under 0.1%)
- Rejection rates
- Sending quotas
Handling Bounces and Complaints
Set up notification handling:
- Configure SNS topics
- Set up feedback notifications
- Implement automated processing
- Update your mailing lists accordingly
Integration Methods
1. AWS SDK Integration
Code example for Node.js:
const AWS = require('aws-sdk');
const ses = new AWS.SES({region: 'us-east-1'});

const params = {
Destination: {
ToAddresses: ['[email protected]']
},
Message: {
Body: {
Html: {
Data: 'Hello from AWS SES!'
}
},
Subject: {
Data: 'Test Email'
}
},
Source: '[email protected]'
};

ses.sendEmail(params).promise()
.then(data => console.log('Email sent:', data))
.catch(err => console.error(err));
2. SMTP Integration
Python example using smtplib:
import smtplib
from email.mime.text import MIMEText

# SMTP credentials from AWS
smtp_username = "YOUR_SMTP_USERNAME"
smtp_password = "YOUR_SMTP_PASSWORD"
smtp_host = "email-smtp.us-east-1.amazonaws.com"
smtp_port = 587

msg = MIMEText('Hello from AWS SES!')
msg['Subject'] = 'Test Email'
msg['From'] = "[email protected]"
msg['To'] = "[email protected]"

with smtplib.SMTP(smtp_host, smtp_port) as server:
server.starttls()
server.login(smtp_username, smtp_password)
server.send_message(msg)
Troubleshooting Guide
Common Issues and Solutions
| Issue | Solution |
|---|---|
| Email Not Delivered |
|
| High Bounce Rate |
|
| Authentication Failures |
|
Cost Analysis
Understanding SES Pricing:
- Free Tier: Up to 3,000 message charges per month for the first 12 months after you start using SES. This includes outbound emails, inbound emails, and Virtual Deliverability Manager outbound email processing.
- For example, sending 1,000 emails with Virtual Deliverability Manager enabled (2,000 message charges) and receiving 1,000 emails (1,000 message charges) would be covered under the free tier. Source
- Outbound Emails: $0.10 per 1,000 emails sent. Source
- Inbound Emails: $0.10 per 1,000 emails received, plus $0.09 for every 1,000 incoming email chunks. Source
- Attachments: $0.12 per GB of data in the attachments you send. Source
- Dedicated IP Addresses: $24.95 per IP address per month. Source
- Global Endpoints: Additional $0.03 per 1,000 emails when sent through multi-region endpoint IDs, on top of the base sending price. Source
Security Best Practices
- Use IAM roles and policies
- Implement DKIM authentication
- Enable SPF records
- Configure DMARC policy
- Regular security audits
- Monitor sending patterns
Conclusion
Amazon SES provides a robust, scalable email solution suitable for businesses of all sizes. By following this guide and implementing the recommended best practices, you’ll be well on your way to establishing a reliable email sending infrastructure.
Remember to:
- Start with thorough testing in the sandbox environment
- Monitor your sending metrics closely
- Implement proper authentication and security measures
- Keep your email lists clean and up-to-date
- Stay compliant with email sending best practices
Need help? Don’t hesitate to consult AWS documentation click here or reach out to AWS Support for assistance!

")
